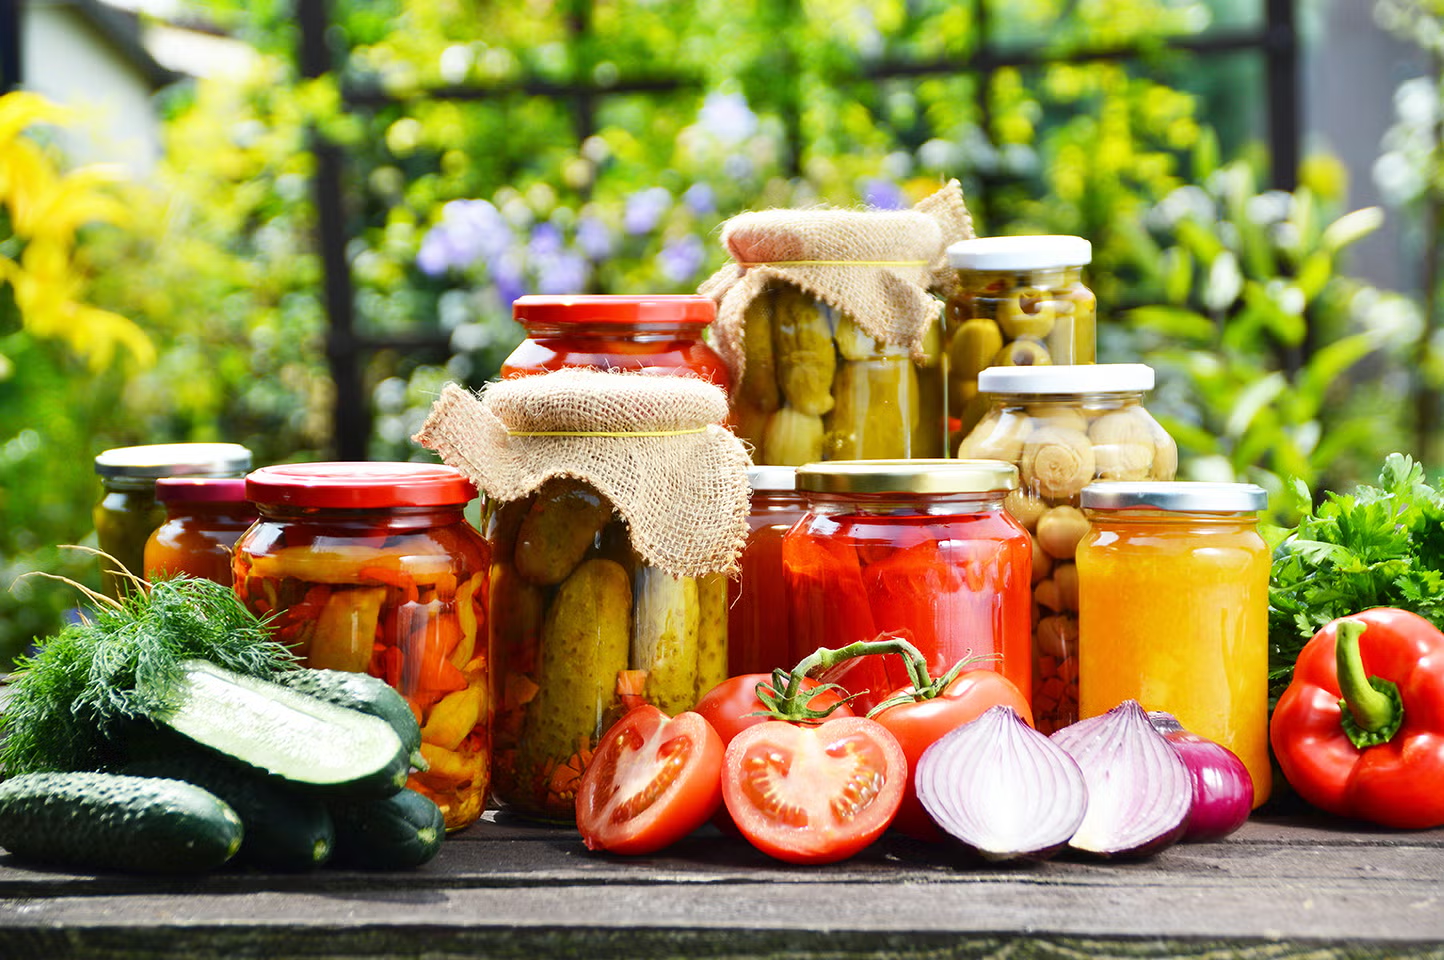
Fermentation can seem intimidating, especially when life gets busy and complicated projects feel overwhelming. The good news is that you don’t need advanced skills or special equipment to start making fermented foods at home.
In this guide, we’ll explore 4 easy fermentation recipes for beginners that are simple, practical, and incredibly rewarding. From fermented garlic honey and daikon kimchi to homemade milk kefir and sauerkraut, these projects require minimal effort while delivering impressive flavor, natural preservation, and potential gut health benefits.
Whether you’re completely new to fermentation or looking to rebuild the habit one step at a time, these beginner-friendly recipes are a great place to start.
1. Fermented Garlic Honey
Look at this stuff. It’s incredible. On a scale of easy fermentation projects to delicious results, fermented garlic honey is completely off the charts. If you’re new to fermentation and want a simple project that will absolutely flavor-blast your home cooking, fermented honey garlic is the way to go.
What You’ll Need
- Honey
- Garlic
I use two full heads of garlic for a 12-ounce mason jar.
Most people know this peeling trick by now, but it’s still one of my favorites. Break apart all the cloves, place them between two metal bowls, and give them a vigorous shake. The skins loosen up, making them much easier to remove.
Once peeled, add the garlic cloves to a clean mason jar.
For the honey, I used fresh honey from a neighbor who keeps bees. Any honey will work, but raw honey is ideal because it contains more natural bacteria that help support fermentation.
Pour in enough honey to nearly fill the jar, leaving just a little headspace.
The Fermentation Process
Seal the jar and place it somewhere away from direct sunlight.
During the first few days, the garlic cloves will float to the top. Every day, turn the jar over to coat the cloves in honey and prevent prolonged exposure to oxygen.
After a few days, you should begin to see tiny bubbles forming. That’s carbon dioxide being released during fermentation.
Around day four or five, you’ll notice the honey becoming thinner and more liquid. That’s a good sign. When opening the jar, you may also hear a slight release of pressure from the CO₂ buildup.
After about three weeks, the flavor is incredible.
You’re not getting super funky flavors. Instead, it’s a deeply intensified garlic infusion in honey.
At this point, you can leave the cloves in the jar or strain them out. I usually strain them, save the cloves for another use, and keep the infused honey for:
- Salad dressings
- Stir-fries
- Marinades
- Sauces
In fact, I’ll be using it later in this post.
2. Easy Daikon Kimchi
With the explosion of Korean food over the last decade, most people have at least tried kimchi. Many of you have probably attempted to make it at home.
I’ve shown traditional kimchi on this channel before, but honestly, it can be a lot of work. Salting giant Napa cabbages, weighing them down, and managing all the prep takes time.
This daikon kimchi, however, is much easier, and just as delicious.
Preparing the Daikon
I started with fresh daikon radishes from the garden. Store-bought daikon tends to be much larger, and Korean radishes can be even bigger. After washing them, I removed any damaged spots but left the healthy skin intact for added flavor and nutrients.
Then I chopped them into bite-sized cubes. The exact size doesn’t matter much. Once fermentation begins, they’ll shrink by roughly 30%.
Making the Kimchi Paste
For the kimchi dressing, I blended:
- Asian pear
- Green onion
- Ginger
- Garlic
- Gochugaru (Korean chili flakes)
- Salt
Every kimchi needs some sweetness to help support fermentation. If you don’t have pear, sugar works too.
Once blended into a paste, I mixed it thoroughly with the daikon cubes and packed everything into a jar.
Fermentation
The goal with kimchi is to keep everything submerged below the liquid level.
At first, there wasn’t much liquid in the jar, so I let it sit for a few hours. The daikon naturally released enough water that no additional liquid was needed.
Once fully submerged, I covered it loosely and placed it in a cool, dark spot.
After just one day, bubbles started forming—a great sign that fermentation was underway.
I let it go for about a week.
By day seven, large air pockets had formed throughout the jar, and the kimchi was fully fermented.
The flavor was incredible.
Daikon kimchi is easier to prepare than cabbage kimchi because you’re working with cubes instead of tangled cabbage leaves. It’s become one of my favorite rice bowl toppings.
Why I Ferment
I’m not just fermenting food to preserve it longer. One of the biggest reasons is the health benefit.
Humans have only had controlled refrigeration for about 150 years. We’ve been around much longer than that.
For generations, people relied on fermented foods to survive winters and preserve harvests. Our bodies evolved alongside those foods.
The reality is that I don’t have as much time to make fermented foods as I once did, and I’m definitely not eating as much of them as I’d like.
3. Milk Kefir
Milk kefir is something I resisted for a long time.
My brother kept telling me how amazing it was, and after months of hearing about it, I finally gave it a try.
It completely changed my mind.
Why Milk Kefir?
Think of it as a controlled souring of milk, somewhat similar to yogurt.
Unlike yogurt, though:
- No heating required
- No temperature management
- No worrying about separation
It’s also loaded with significantly more probiotic strains.
Getting Started
Milk kefir requires kefir grains, which are easy to find online.
The grains look like small gelatinous clusters and contain colonies of natural yeast and bacteria.
I use approximately:
- 1 teaspoon kefir grains
- 1 cup milk
For this batch, I had about 3 teaspoons of grains, so I added 3 cups of milk.
One important note: avoid ultra-pasteurized milk, since the process removes much of the natural biology that helps fermentation thrive.
Fermentation Process
I let the mixture sit at room temperature for 24 hours.
After one day, there were:
- Air pockets
- Slight separation
- A mildly sour aroma
At that point, the grains had done their job.
I strained them out and stored them in fresh milk in the refrigerator for future batches.
Second Fermentation
The kefir is still fairly thin after the first fermentation.
To build flavor and thickness, I simply let it sit for another day or two.
After two days, it transformed completely.
The texture became similar to a drinkable yogurt, packed with tiny bubbles from fermentation.
I’ve been using it in smoothies almost every day, and the combination with fresh fruit is incredible.
Milk kefir has become a total game changer in my kitchen.
4. Lacto-Fermented Sauerkraut
Welcome to my fermentation room.
I originally built this basement space specifically for fermentation projects. Right now there are more empty jars than I’d like, but that’s kind of the point of this video.
You build the foundation first and then grow into it.
One of the easiest ways to start is with simple lacto-fermented vegetables.
Ingredients
For this batch, I used:
- Savoy cabbage
- Fresh carrots
- Ginger
- Salt
I removed a few damaged outer cabbage leaves but saved them for later.
Then I:
- Sliced the cabbage.
- Peeled thin strips of carrot into the bowl.
- Microplaned a small amount of ginger.
A quick note: fermented aromatics become much stronger, so a little ginger or garlic goes a long way.
Salting
I weighed the vegetables and used a 2.5% salt ratio.
After adding the salt, I massaged everything together until the cabbage began releasing moisture.
That liquid is essential because it creates the anaerobic environment needed for fermentation.
Packing the Jar
I packed everything tightly into a jar and topped it with one of the reserved cabbage leaves.
That leaf helps prevent small pieces from floating to the surface and potentially molding.
After a few hours, I checked the liquid level and added a small amount of water to ensure everything stayed submerged.
Fermentation Time
I fermented the sauerkraut at approximately 65°F (18°C).
For me, the sweet spot is around two to three weeks.
That’s when the flavors really start developing.
It’s one of the easiest, most versatile fermented foods you can keep in your refrigerator for weeks or even months.
Bringing Everything Together: The Ultimate Rice Bowl
I wanted to use a few of these fermented ingredients in one meal.
I started with some pork belly from the freezer.
After seasoning it, I cooked it until tender and collected the rendered fat and cooking liquid.
Into that liquid I added:
- Fermented garlic honey
- Black vinegar
- Soy sauce
- Chili paste
I reduced it into a rich, flavorful sauce.
Then I crisped up the pork belly in a pan until the exterior was beautifully golden.
Finally, I built a rice bowl and topped it with the fermented ingredients.
The result?
The most insane rice bowl I’ve ever made. Oh my God, best rice bowl of my life.