Are you putting food into long-term storage to get your family prepared for emergencies, disasters, and even long-term, grid-down SHTF-type events?
If you want that food to stay fresh and be ready years from now, you’ll need to defeat the enemies of long-term food storage—starting with one of the worst: oxygen.
My name is Les, and I want to welcome you to the Chef Prepper channel, where we make videos that are worth your time. In this guide, we’re going to look at exactly how to defeat this storage enemy.
The Campfire Analogy: How Oxygen Destroys Food
To understand what oxygen does to your stored supplies, picture a campfire. The fire burns the wood, but only as long as oxygen is available. Take away the oxygen, and there is no more fire.
Your long-term storage food is like that wood, and oxygen slowly “burns” it chemically over time. It won’t burst into flames, but it will turn into spoilage, rancidity, and a loss of nutrition.
So, the goal is the same: remove the oxygen, and you put out the fire of spoilage.
5 Ways to Deal with Oxygen in Food Storage
There are five primary ways to handle oxygen when it comes to preserving your food supplies. Let’s break down how they stack up.
1. Do Nothing
This means leaving your food in its original packaging. Taking this route will lead you quickly to failure.
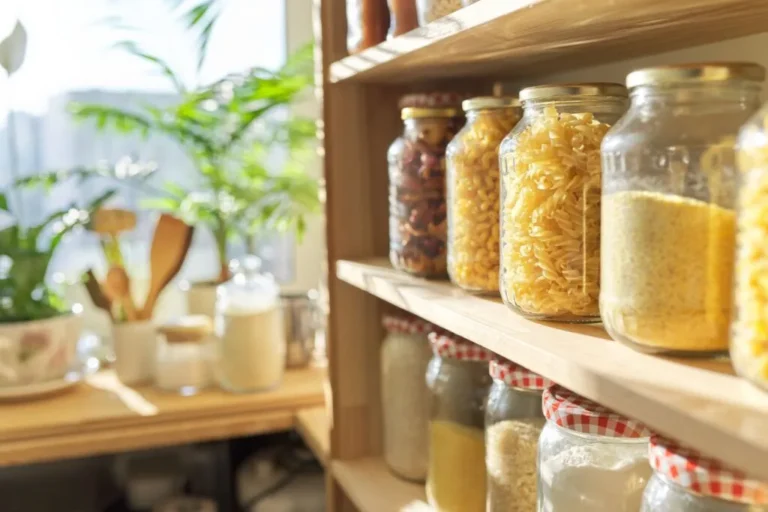
2. Repackage in Basic Containers
This involves moving your food into less permeable containers than the original store packaging. For example:
-
Plastic: While plastic is still somewhat permeable, it’s not nearly as porous as original packaging. However, the oxygen fire will keep burning.
-
Glass: Moving food to glass provides a non-permeable barrier.
Either way, if you repackage food without actively addressing the oxygen inside, your food essentially becomes a de facto oxygen absorber. It won’t actually clean the air; it will simply react with the trapped oxygen and degrade. While using glass is better than leaving it in store packaging, it’s still not a complete solution.
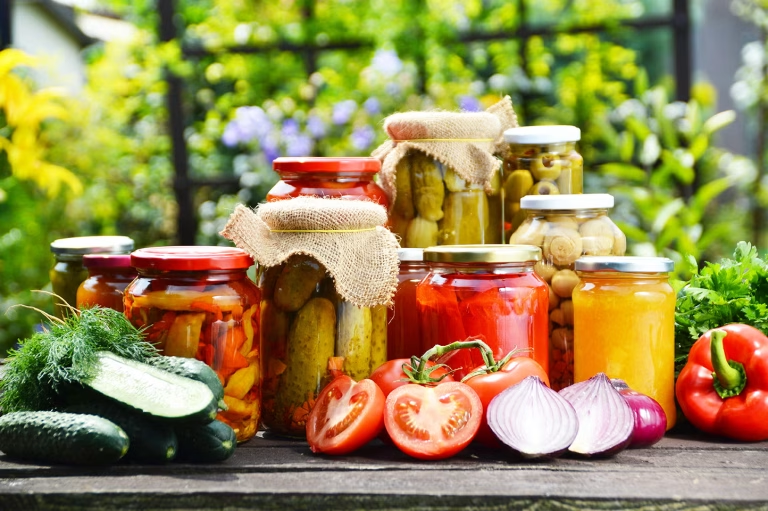
3. Buy Prepackaged Canned Foods
You can buy foods that are already packaged commercially to overcome the oxygen problem, such as canned foods. With these types of food, dealing with the oxygen has already been done for us. We merely put them away. That is proper storage.
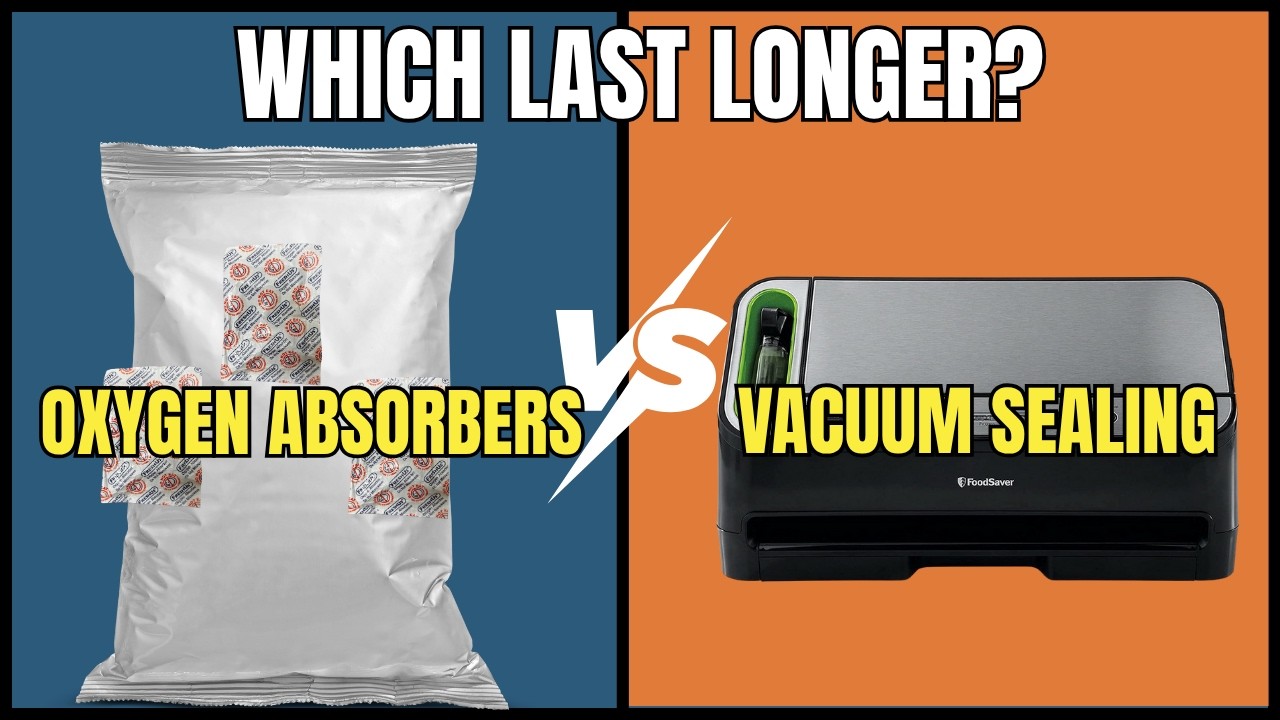
4. Vacuum Sealing
Vacuum sealers remove the air—not just the oxygen, but all of it. However, home sealers don’t completely remove all the air or create a perfect vacuum. There is always a small amount of residual oxygen left behind. Given identical storage conditions, this remaining oxygen will eventually make a difference in shelf life compared to more absolute methods.
That said, vacuum sealing is highly effective for many types of food, and I use it myself on our homestead. It just isn’t the absolute best option for all long-term dry foods.
5. Oxygen Absorbers (The Gold Standard)
The ultimate way to deal with the worst enemy of long-term food storage is to use oxygen absorbers inside glass jars or Mylar bags.
To understand why they are so effective, consider the air we breathe: it’s roughly 21% oxygen, and the rest is mostly nitrogen. Nitrogen doesn’t cause oxidation or spoilage; in fact, it actually protects your food once the oxygen is gone.
The biggest difference between oxygen absorbers and vacuum sealing is that absorbers remove only the oxygen, not the air. Once the absorber completes its job, the remaining atmosphere inside the container is almost 99% nitrogen. This creates a protective environment similar to—though not quite as powerful as—commercial nitrogen-flushing systems.
How to Use Oxygen Absorbers Correctly
Using oxygen absorbers is a straightforward process if you follow these steps:
-
Verify the Food Type: Make sure the food is appropriate to be stored with oxygen absorbers. Good candidates include white rice, dry beans, and dry grains. Never use them with foods that still retain moisture or oily contents. Additionally, avoid using them with oxygen-insensitive items like salt and sugar, as removing the oxygen will cause them to turn into one giant, hard clump.
-
Prepare Your Containers: Ensure you have a clean container. If you are using Mylar bags, you will also need a secondary rigid container—like a plastic bucket—to store the sealed bags in.
-
Pack the Food: Place the food into your jar or position the Mylar bag securely inside the bucket before filling it. Pack the food (like rice) down firmly as you go.
-
Add the Absorber: Drop in your appropriately sized oxygen absorber, then fill the container the rest of the way to the top.
-
Seal and Verify: * For Jars: Screw the lid on tightly. The jar won’t seal instantly, but after a couple of days, the lid should be sucked down tightly and not come off easily.
-
For Mylar Bags: Use a heat sealer to secure the edge. After a day or so, the bag will pull tight against the food. Sometimes the finish will look perfectly smooth, and sometimes it will look a bit wrinkled—either way, remember that the goal is the chemical removal of oxygen, not a mechanical vacuum crush.
-
Note on Plastic Containers: You can reuse heavy plastic containers with oxygen absorbers, but keep in mind that plastic is naturally permeable over long periods. While using absorbers in plastic will keep your food good much longer than doing nothing, it will not achieve the extreme shelf life possible with glass or Mylar bags.
How to Use a Vacuum Sealer Correctly
Vacuum sealing is also very easy when done right:
-
Verify the Food Type: Ensure the food is safe for vacuum packing. Just like with absorbers, avoid foods that are moist or highly oily.
-
Prepare the Container: Have a clean mason jar (with a vacuum attachment) or specific vacuum-sealing bags ready.
-
Fill and Seal: Put the food into the container and use your vacuum sealer machine to draw out the air and seal it.
A Lesson from Our Homestead
On our homestead, we grow our own dry beans. In the past, I packaged some of our harvest in standard plastic vacuum-sealer bags. I didn’t realize at the time that the plastic material would slowly allow oxygen to seep back into the beans over the years.
While this method works fine for medium-term storage, it won’t last as long as glass or Mylar. In the future, when I package dry beans or buy foods in bulk, I will vacuum seal them inside glass jars or store them in Mylar bags placed inside plastic buckets.
If you do choose to store food long-term in plastic vacuum pouches, remember to place those bags inside a secondary, durable container to help protect them from the other enemies of food storage (like light and pests).
Summary of the 5 Methods
| Method | Effectiveness against Oxygen | Best Use Case |
| 1. Original Packaging | Failure | None (Consume immediately) |
| 2. Repackaging (No Absorber) | Poor | Short-term organization |
| 3. Commercial Canned Goods | Excellent (Pre-protected) | Ready-to-store emergency pantries |
| 4. Vacuum Sealing | Great | Medium to long-term storage for specific foods |
| 5. Oxygen Absorbers + Mylar/Glass | Best | Maximum long-term shelf life for dry staples |
Once you have packaged your food using your preferred method, remember: you still need to properly store your properly packaged food. Packaging is only half the battle; environmental factors like temperature and light dictate your final shelf life.
To help you get the longest possible life out of your supplies, I’ve created a couple of free resources. I have a comprehensive Food Storage Guide PDF, as well as a dedicated Canned Food Storage Guide PDF.