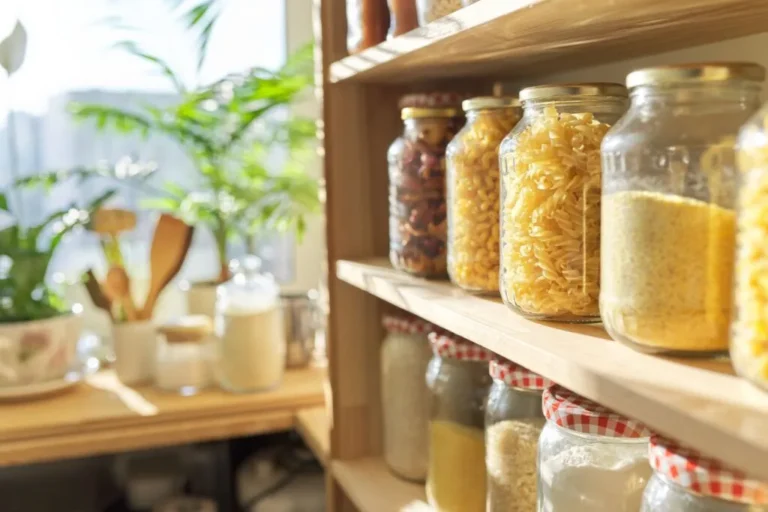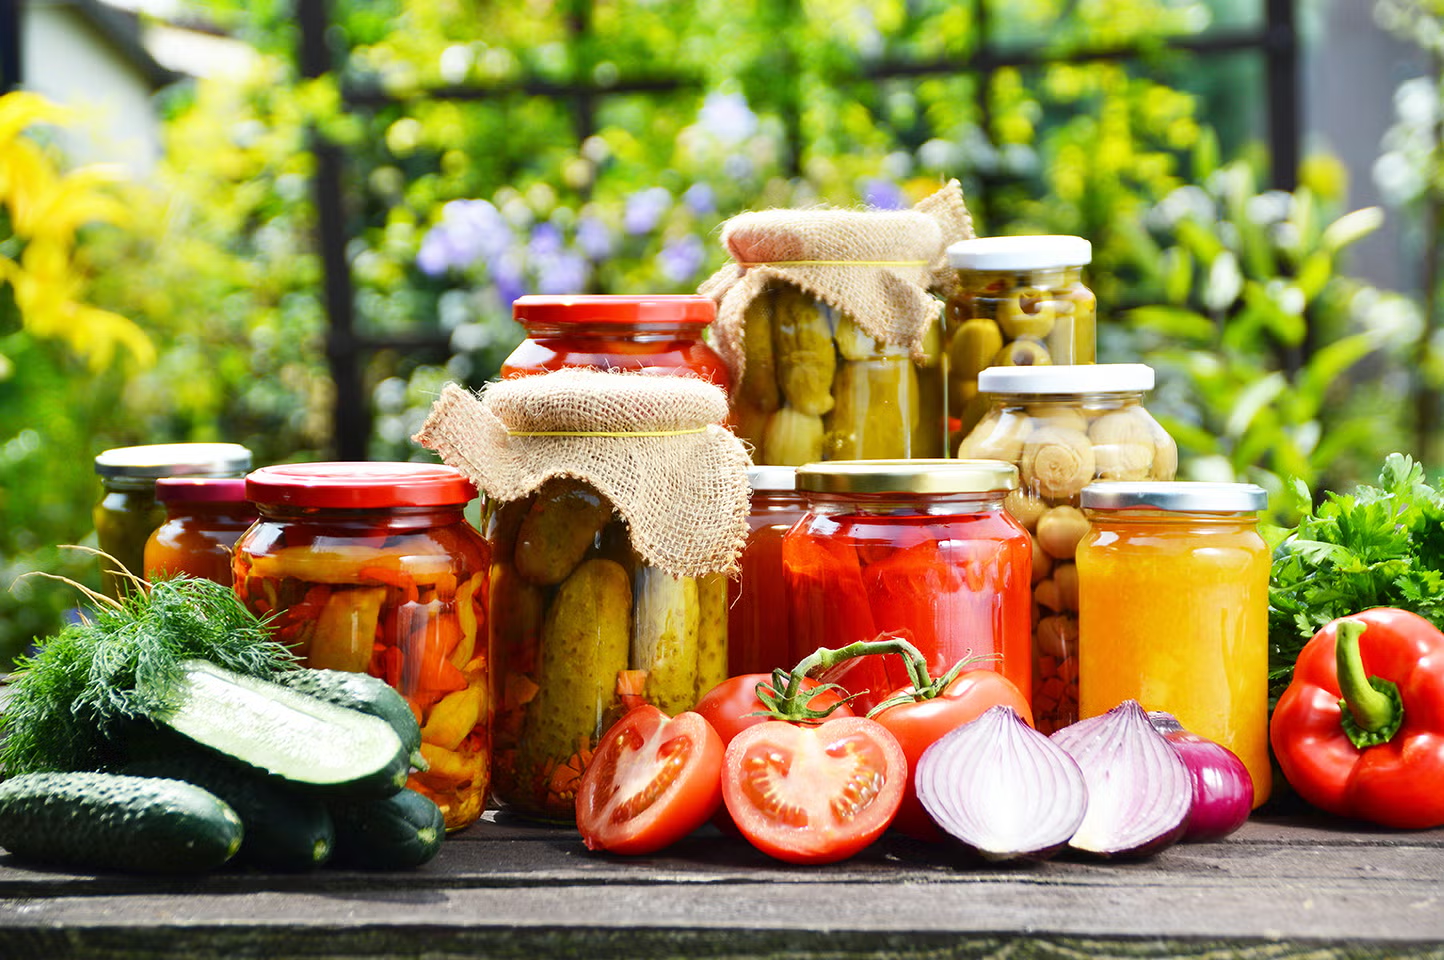
Food Preservation Methods have been used for centuries to keep food fresh, reduce waste, and extend shelf life. In this article, I test 11 different Food Preservation Methods using ingredients harvested directly from my garden, including pickling, drying, salting, fermentation, canning, smoking, freezing, and more.
I have a confession: I’m kind of obsessed with food preservation. It’s one of my biggest joys in life. Honestly, I think I enjoy it even more than cooking itself.
My Obsession With Food Preservation
I have a confession: I’m kind of obsessed with food preservation.
It’s one of my biggest joys in life. Honestly, I think I like it even more than cooking itself. It’s the reason I’ve brought you so many different food preservation videos over the years. But as a serious home cook, I’m always trying to challenge myself and push things to the next level.
So, I asked the internet to list every single way you can preserve food at home. As it turns out, there are a lot of them.
In this experiment, I’m going to demonstrate every major food preservation technique. To make things a little more interesting, all the food I use has to come directly from my garden.
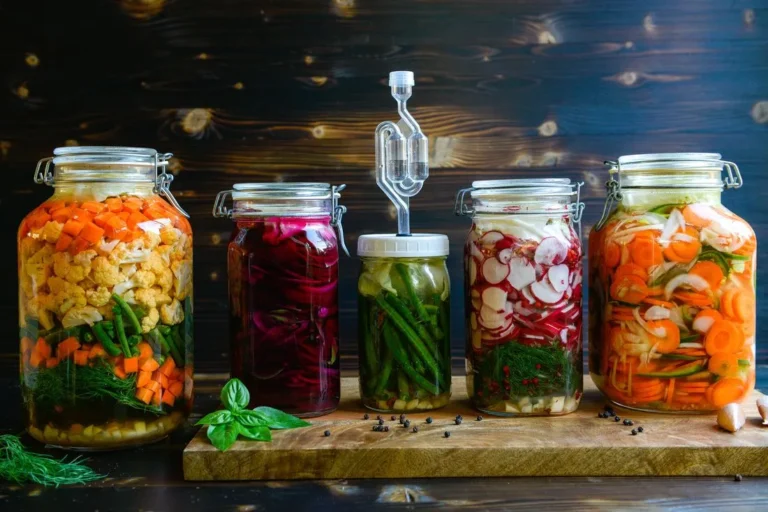
1. Pickling
Pickling is one of my favorite preservation techniques because it’s incredibly simple.
All you’re really doing is creating a low-pH environment using something acidic, such as vinegar or citrus juice. This acidic environment helps prevent harmful bacteria and mold from spoiling your food.
For this demo, I’m using red onions from the garden. I’ve never grown these before, but they’re looking pretty good. They’re still about a month away from full maturity, yet they’ve already developed nicely and can be harvested in the spring.
After harvesting a few onions, I cleaned them up and saved the green tops for another preservation method we’ll use later.
I sliced the onions thinly and packed them into a clean mason jar.
One of my favorite tricks is adding the vinegar directly to the jar. I used plain organic white vinegar, filling the jar halfway before topping it off with water for a 50/50 vinegar-to-water solution.
Then I poured the liquid into a saucepan and added:
- A few garlic cloves
- A mix of whole spices
- 2 tablespoons of sugar
- 2 tablespoons of salt
After bringing everything to a boil, I poured the hot pickling liquid over the onions.
Once cooled, I sealed the jar and placed it in the refrigerator overnight.
The Results
After just one night, the onions developed a beautiful reddish color. This type of pickling isn’t intended for extremely long-term storage. Since it’s simply an acidic brine, it must remain refrigerated and generally lasts a few weeks.
Not that these will survive that long, after tasting them, I was blown away.
The onions were incredibly fresh, with a nice black pepper flavor and plenty of aromatic complexity.
You really can’t go wrong with pickled red onions in your refrigerator.
2. Drying and Dehydration
Drying works because life needs water to survive. When we remove moisture from food, microorganisms can no longer thrive and cause spoilage. For this demonstration, I chose garlic scapes and onion greens from my garden.
Around this time of year, hardneck garlic varieties produce garlic scapes—long flower stalks packed with garlic flavor. Normally, I’d stir-fry them or turn them into pesto, but this time I wanted to dry them.
After trimming and washing the scapes, I placed them on dehydrator trays alongside the onion tops.
I dehydrated everything at 125°F (52°C) for approximately 24 hours. Once fully dried, I blended everything into a fine powder.
Originally, I planned to separate them, but combining garlic and onion into one seasoning blend sounded too good to pass up.
3. Salting
Salting is one of humanity’s oldest preservation methods. Salt draws moisture from food while also creating an environment that’s hostile to many spoilage organisms.
Instead of salting vegetables, I decided to preserve egg yolks from my chickens.
I spread kosher salt into a container and created small depressions for the yolks.
After separating the yolks from the whites, I carefully placed them into the salt and covered them completely.
The container went into the refrigerator for three to four days.
Afterward, the yolks had firmed significantly. I rinsed away the excess salt and placed them in the dehydrator for a few more hours.
The goal wasn’t to completely dry them out, but rather to create a texture similar to hard Parmesan cheese.
Once finished, they could be grated over dishes just like cheese.
4. Fermentation
If you’ve followed my work for a while, you know fermentation is probably my most-used preservation technique.
There are three major categories:
- Lacto-fermentation
- Acidic fermentation
- Alcoholic fermentation
We’re focusing on lacto-fermentation.
I wanted to make sauerkraut using my cabbages, but they weren’t quite ready yet. Instead, I decided to ferment garlic.
Fermented Garlic
I cleaned several garlic bulbs and placed them into a jar.
Next, I added water and calculated the amount of salt needed using a 3% brine solution.
For this batch, that worked out to 15 grams of salt.
After dissolving the salt into the water, I poured the brine over the garlic and ensured everything remained submerged.
The jars were then stored in a cool, dark location for at least a week.
The Results
I also had a batch that had already been fermenting for three weeks.
The garlic tops had developed a pleasant pickled flavor and were surprisingly mild.
The fermented garlic cloves themselves were fantastic.
1- Crunchy.
2- Tangy.
3- Fresh.
Much less intense than raw garlic. In fact, they tasted more like crunchy fermented pickles than garlic.
One of the best things about lacto-fermentation is longevity. Once fermented, these can continue developing flavor for months or even years, especially when refrigerated.
That’s one reason I love this technique so much.
5. Canning
Canning involves placing food into jars and exposing it to high temperatures that eliminate harmful microorganisms.
There are two main forms of canning:
1- Water Bath Canning
Used for high-acid foods such as tomato sauce.
2- Pressure Canning
Used for low-acid foods.
For this demonstration, I used radishes from the garden. Since radishes aren’t acidic, they must be pressure canned.
After cleaning and cutting them into pieces, I sanitized the jars and prepared the pressure canner.
Pressure canning uses steam under pressure to reach temperatures around 240°F (116°C), which helps eliminate risks such as botulism.
Once cooled, the jars become shelf-stable for long-term storage.
My dream is to someday fill entire shelves with home-canned produce from the garden.
6. Smoking
Smoking preserves food while adding incredible flavor.
There are two forms:
1- Hot Smoking
Hot smoking cooks food while smoking it. A good example is ribs cooked at 225°F.
2- Cold Smoking
Cold smoking uses much lower temperatures.
Rather than cooking food, it slowly dehydrates it while exposing it to smoke.
I’ve never really experimented with cold smoking before, so I decided to smoke a variety of vegetables.
My smoker only goes down to 160°F, which isn’t true cold-smoking territory, but it was close enough for experimentation.
The Results
After 24 hours, the vegetables had shriveled significantly.
Some moisture remained, meaning they weren’t preserved long term.
— The smoked onion was terrible on its own.
— The smoked garlic wasn’t bad.
— The smoked radish still had considerable moisture.
— The biggest surprise was the egg.
Its texture became absolutely incredible, though I didn’t detect much smoke flavor.
Overall, smoking seems most effective for preserving meat and fish rather than vegetables.
7. Sugar Preservation
— Sugar works much like salt.
— It pulls moisture from food, helping prevent spoilage.
— This is why jams and jellies can last such a long time.
For this demonstration, I used strawberries from my garden.
Since my patch is still young, I collected berries over several days and froze them until I had enough.
I cooked the strawberries with:
- Sugar
- Lemon juice
- Additional pectin
After simmering everything together for about 10 minutes, I filled a sanitized mason jar.
To make it shelf-stable, I processed the jar in boiling water for at least 10 minutes.
The Results
The finished strawberry jam was fantastic.
Fresh.
Sweet.
Bright.
And dramatically better than the smoked onion I had just tasted.
I could have eaten the whole jar immediately.
8. Freezing
Imagine modern life without refrigerators and freezers.
We would rely much more heavily on every other preservation method discussed here.
For this demonstration, I harvested an entire bed of spinach that was beginning to bolt.
After washing and drying the leaves thoroughly, I vacuum-sealed them and placed them in the freezer.
Vacuum sealing dramatically improves freezer storage and helps prevent freezer burn.
Months from now, I’ll still be using this spinach in smoothies, soups, and stews.
9. Alcohol Preservation
One of my favorite uses for alcohol preservation is making herbal tinctures.
I gathered several medicinal herbs growing in and around the garden, including:
- Mint
- Mugwort
- Holy basil
After drying the herbs, I crushed them and added them to mason jars.
Then I covered them with vodka, which serves as both the extraction medium and preservative.
After several weeks of steeping, the liquid can be strained into dropper bottles, creating potent herbal tinctures.
10. Oil Preservation
Oil preservation involves submerging food in oil to limit exposure to oxygen.
For this demonstration, I returned once again to garlic.
After peeling several bulbs worth of cloves, I briefly blanched them in boiling water.
I then placed them into a clean jar and covered them completely with olive oil.
This isn’t a shelf-stable method and must be refrigerated.
However, it extends storage significantly while also creating delicious garlic-infused oil.
That’s a win-win.
11. Root Cellaring
The final preservation technique is root cellaring.
I’ve transformed part of my basement into a simple preservation room.
It’s only about 10 degrees cooler than the rest of the house, but even that small temperature difference makes a huge impact.
This space currently houses:
- Fermenting miso
- Brewing supplies
- Storage for cured onions and garlic
- Various preservation projects
A proper root cellar would be even cooler, but this setup works surprisingly well.
One day, I hope to fill the entire room with food that can carry my family through the winter.
For now, it’s a work in progress.
Final Thoughts
There are certainly other preservation methods out there, including freeze-drying and various commercial preservation techniques.
But I think this experiment covered most of the major methods that can realistically be done at home.
More importantly, it was a lot of fun.
I learned a ton in the process, and hopefully you did too.
Food preservation isn’t just about making food last longer, it’s about connecting more deeply with what we grow, cook, and eat.